Navigation menu
A navigation menu in Shopify helps customers easily browse your store by linking to important pages, collections, products, or external URLs.
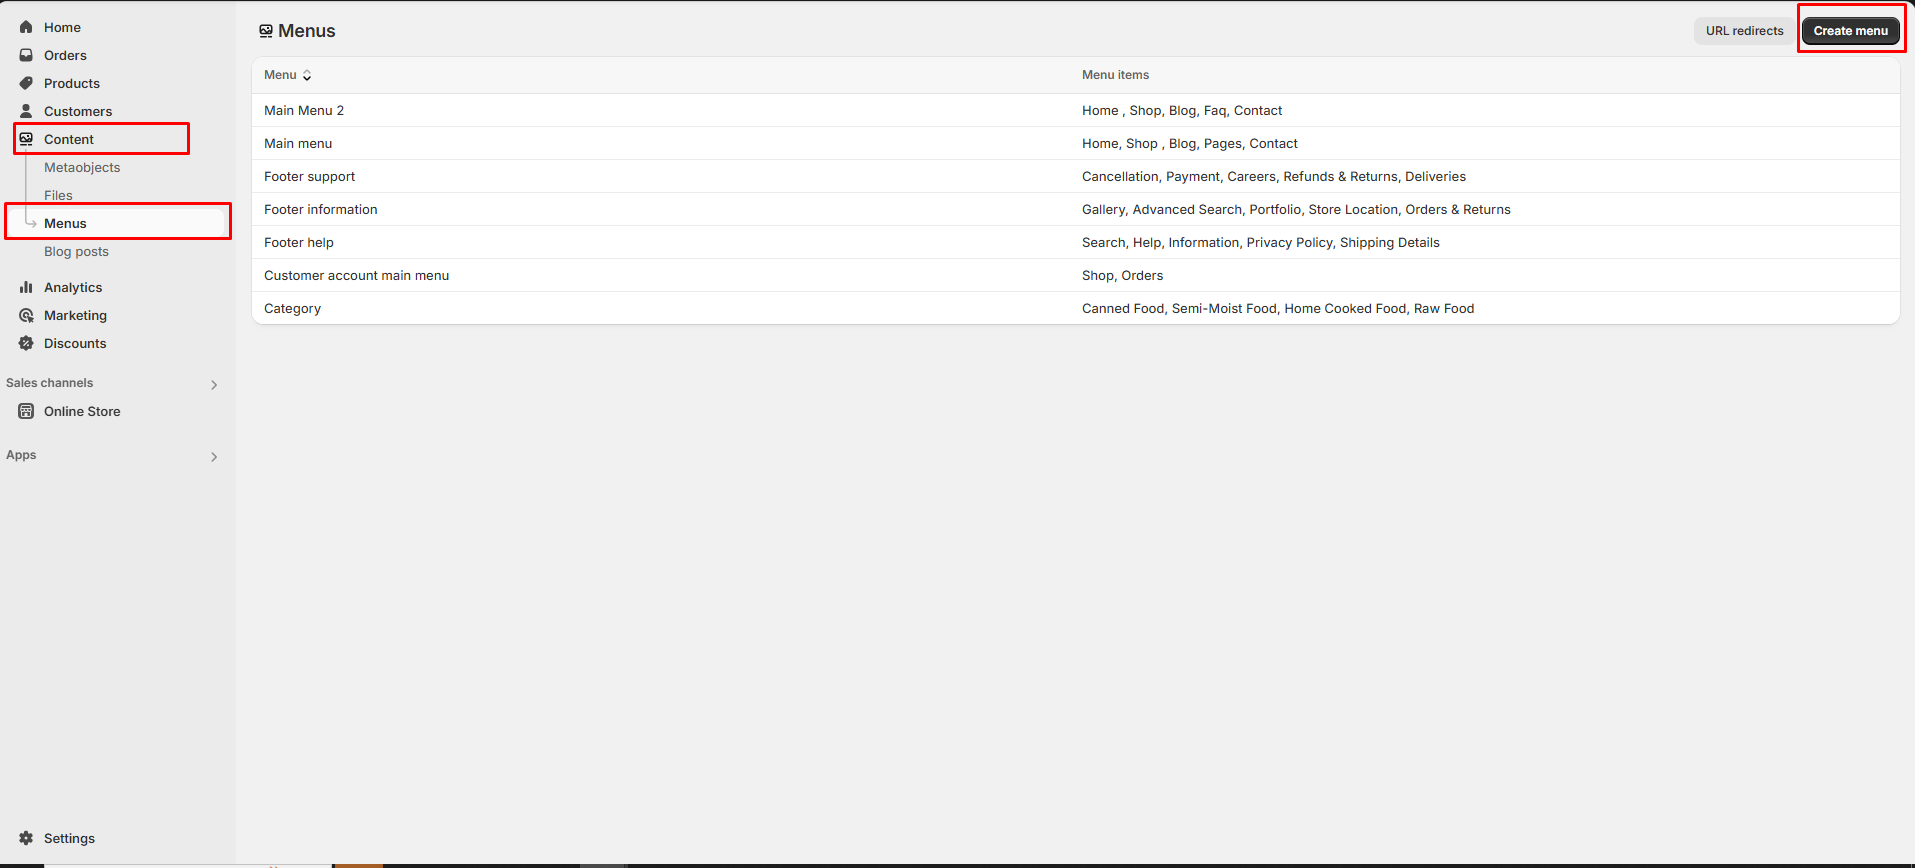
Go to Online Store > Content > Menu in your Shopify Admin.
Click "Create Menu" and enter a Menu Name (e.g., "Main Menu").
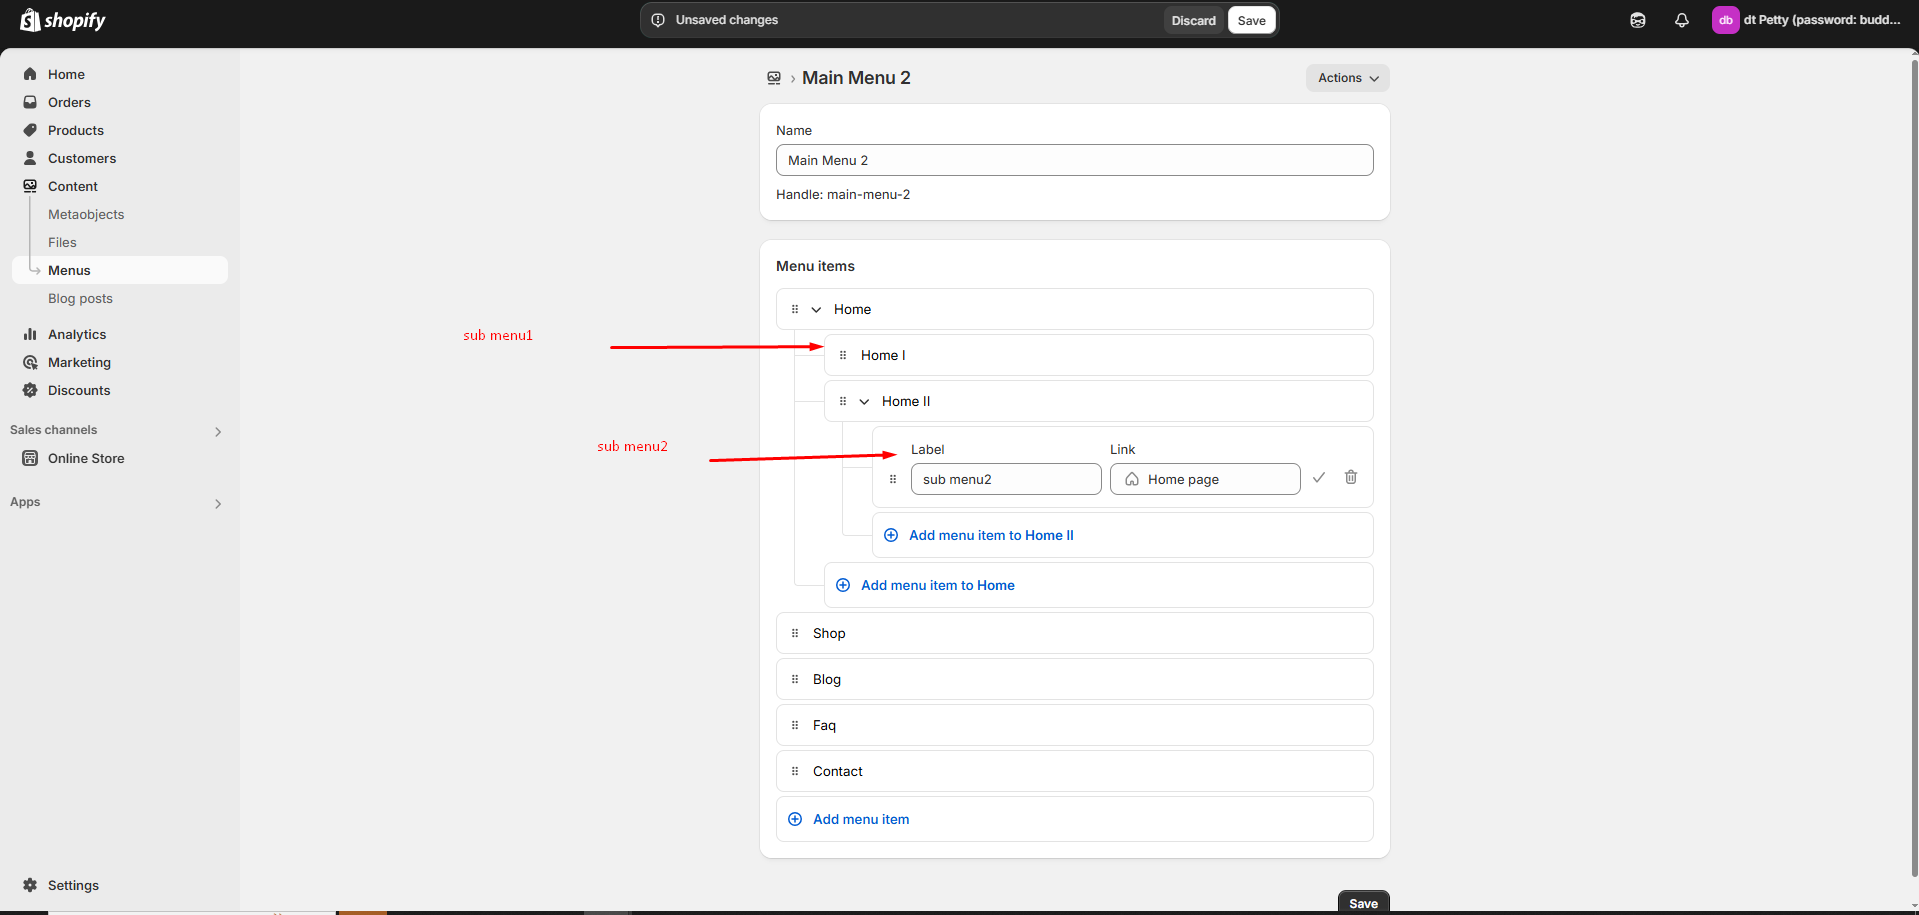
Click "Add Menu " and enter a Name (e.g., "Shop," "About Us," "Contact").
Add menu items and add label and link
Click Link as required and choose a destination. If there is no destination link and error occurs as (Enter a valid URL or choose a page)
Click the Tick icon to save and delete icon to delete
Home – Links to the store’s Homepage.
Collections – Directs to a collection of products.
Products – Links to a specific product.
Pages – Links to an informational pages (e.g., About Us, Contact).
Blog Posts – Links to a blog article.
Custom URL – Add any external or internal link.
Click Tick icon to confirm the menu item.
Click to Save.
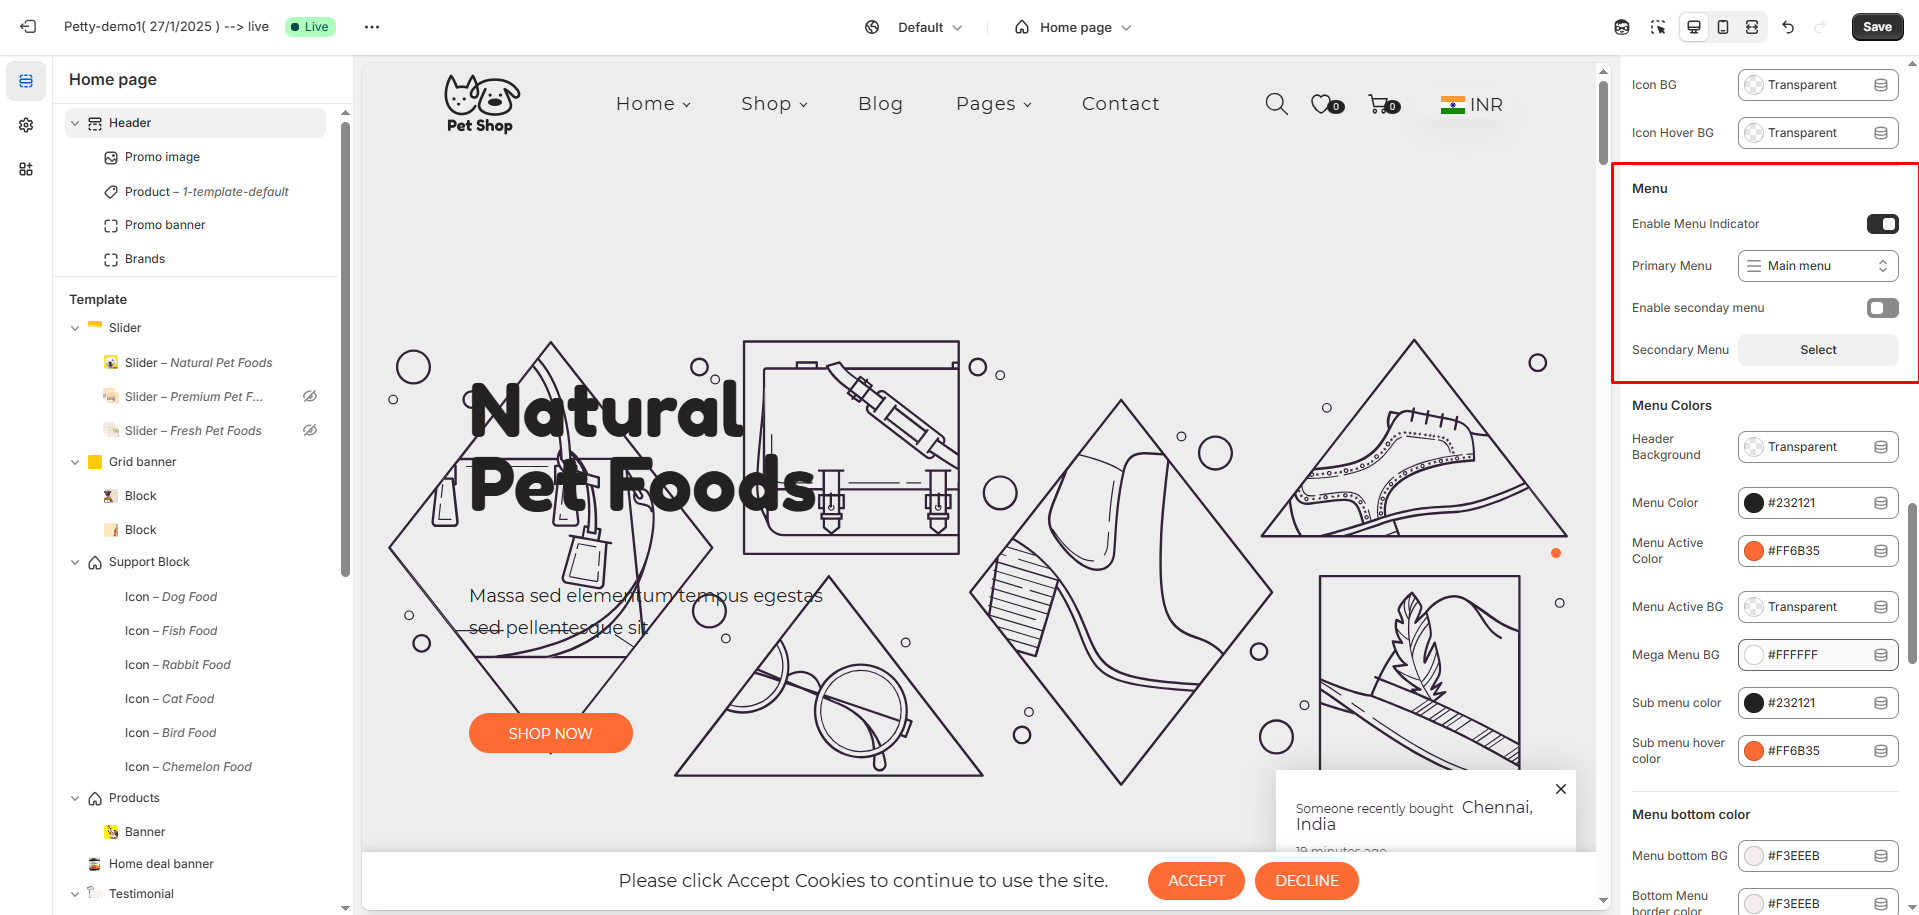
Assigning the Menu to Your Theme
Go to Online Store > Themes > Customize.
In header section select the menu created in content
Click Save
Creating Dropdown Menus (Submenus)
To create a submenu, drag and drop a menu item below and slightly to the right of another menu item.
This helps group related items under a main category (e.g., "Shop" > "Men's Clothing", "Women's Clothing").
Click the Save button to Save the Menu